Replacing a toilet seat might sound like a task best left to a plumber, but in reality, it’s one of the easiest home updates you can do yourself. With just a few tools and some basic know-how, you can remove an old, damaged, or outdated seat and replace it in under 30 minutes.
Over time, toilet seats start to show signs of wear. They can loosen, crack, or become stained. In some cases, the plastic hinges break or the bolts rust, making the seat shift uncomfortably. A replacement not only improves cleanliness and comfort but can also enhance the overall look of your bathroom.
In this guide, we’ll walk you through how to remove and install a toilet seat, step by step. We’ll also share tips on choosing the right seat, what tools you need, and when it makes sense to call Champion Services for professional help.
Why You Might Need a New Toilet Seat
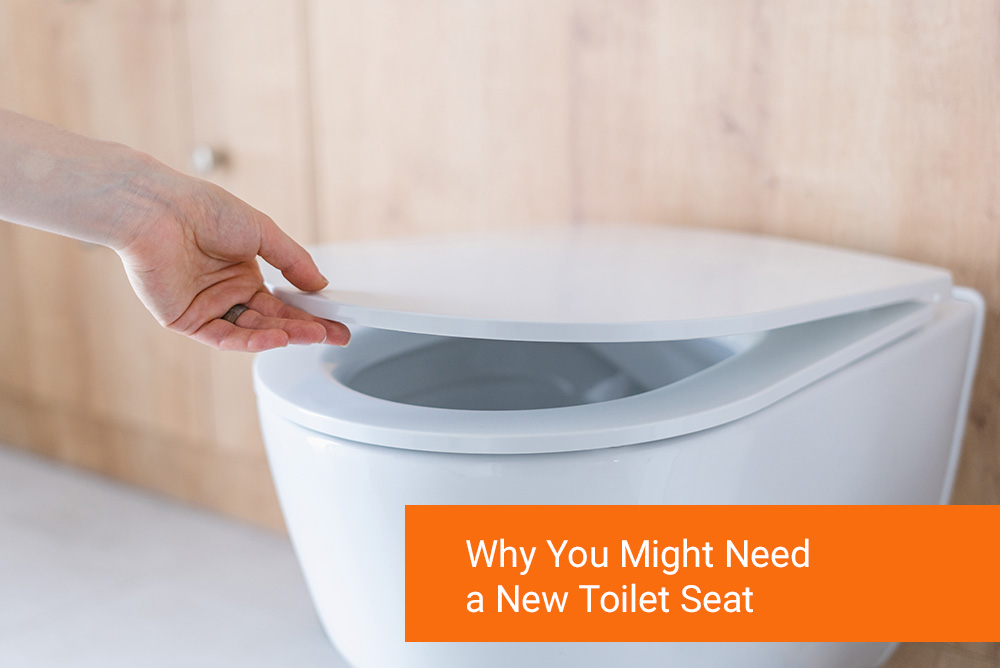
Even if your toilet is in good working condition, the seat often shows wear first. Replacing it is a fast, affordable way to refresh your bathroom.
Visible Damage or Discoloration
A seat with cracks, stains, or peeling paint not only looks bad, but it can also be a hygiene issue. Bacteria and grime can build up in those cracks over time, even with regular cleaning. Once the material starts to break down, it’s time for a new one.
Loose or Shifting Seat
If your seat moves when you sit on it, the bolts are likely loose or damaged. In many cases, tightening the hardware fixes the problem. But if the seat no longer holds tight or if the mounting area is worn out, replacement is the better option.
Upgrading for Comfort or Style
Modern toilet seats come in many styles, including soft-close lids, padded cushions, and models made from higher-end materials. You can also find seats that match your bathroom décor more closely. Swapping in a better seat is a simple way to upgrade without spending a lot.
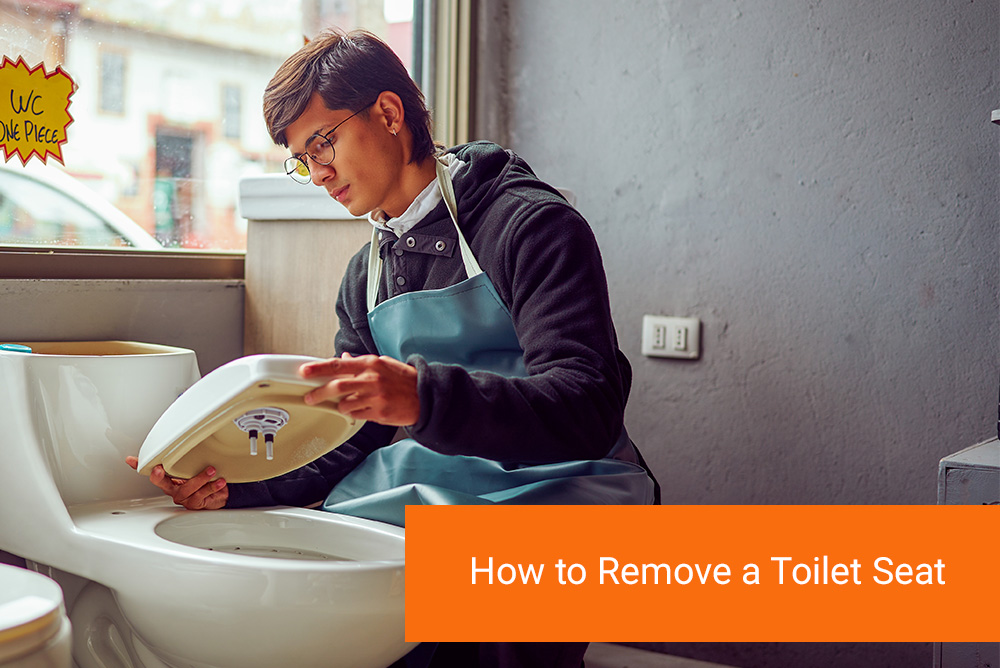
How to Remove a Toilet Seat
Before you begin, gather the tools you’ll need:
- A flathead screwdriver
- An adjustable wrench or pliers
- A cleaning cloth or disinfectant wipes
Turn off the bathroom lights or place a towel under your knees to make the task more comfortable.
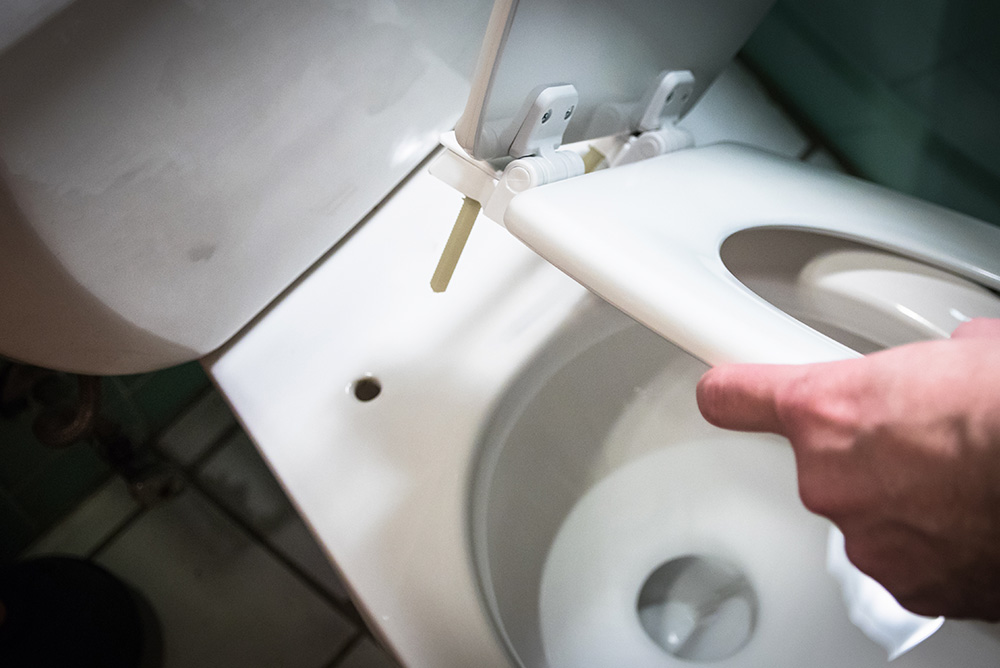
Step 1 – Locate the Seat Bolts
Look at the back of the toilet seat, where the hinges connect to the toilet bowl. Most seats are attached with two bolts hidden under plastic covers. Pry the covers open with a screwdriver or your fingers to expose the bolt heads.
Step 2 – Unscrew the Nuts
Hold the top of the bolt steady with a screwdriver. Reach under the toilet bowl to find the nuts securing the bolts. Use your wrench or pliers to turn the nuts counterclockwise. Once loose, remove them completely and lift the seat and hinge assembly off the toilet.
If the bolts are rusted or stuck, apply a few drops of penetrating oil and wait a few minutes before trying again. Do not force it, as this could damage the toilet bowl.
Step 3 – Remove the Seat and Clean the Area
After removing the seat, clean the exposed area thoroughly. Use a disinfectant to wipe away dirt, grime, or residue around the bolt holes. This ensures a clean surface for the new seat and helps it sit flush on the bowl.
How to Install a New Toilet Seat
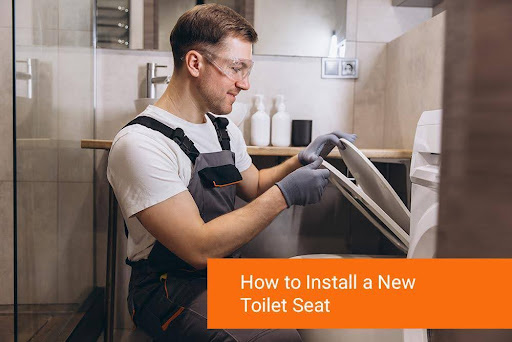
Once the old seat is removed and the area is clean, you’re ready to install your new seat. Make sure the new seat matches your toilet’s shape—either round or elongated—and that the bolt holes align.
Step 1 – Position the New Seat
Place the new seat on the toilet, aligning the bolt holes in the seat hinges with the holes in the toilet bowl. Most modern seats come with mounting guides or instructions to help you center the seat properly.
Step 2 – Insert and Tighten the Bolts
Slide the new bolts through the mounting holes. From underneath, secure the nuts by hand, then use your wrench to gently tighten them. Be careful not to over-tighten, as this can crack the toilet’s porcelain. The seat should feel firm and stable, but not stressed.
Many newer seats feature quick-release buttons or top-mount bolts that simplify the process further. Read the seat’s manual if you’re installing a specialty model.
Step 3 – Test for Fit and Function
Once the bolts are tight, test the seat by lifting and lowering the lid and seat. Sit on it briefly to check stability. The seat should remain in place without shifting, and the hinges should move smoothly.
If the seat wobbles, adjust the alignment and re-tighten the bolts as needed.
When to Call a Professional
Although replacing a toilet seat is usually a simple job, there are times when professional help is the better choice. If you encounter rusted bolts that won’t budge or porcelain that appears cracked or fragile, it’s best not to force the issue.
Some older toilets may also have unusual hardware or be installed in tight spaces that are difficult to access. If you’re unsure or don’t have the right tools, the job can become more frustrating than expected.
That’s where Champion Services comes in. Our licensed handyman team serves Las Vegas and surrounding areas, handling small projects with the same care as full remodels. From toilet seat swaps to full bathroom updates, we’re here to help.
Explore our full range of services, or request a system quote to get started.
Make Bathroom Fixes Easy with Champion Services
